Practical Response
Brief :
create a series of images that express surrealist concerns.
Observational starting points:
create a series of images that express surrealist concerns.
Observational starting points:
- Photograph objects-put them together in strange pairs. Look at Dali's lobster phone
- Layer a portrait with an image of an animal like Wanda wultz
- Pick ut 3 tasks from the book 'Surreal Digital Photography'
- What were the aims of the surrealist movement Photoshop tutorial
underwater portraits
For my first practical response I wanted to try something a bit simple for a head start. First I wanted to create a strange underwater portrait because i tend to have visions. When I go swimming on the weekends under the water my imagination is seeing people sitting down in the water with their eyes shut. I thought I did a pretty good job editing the subjects in the water really well. However, it could of been better if I sorted out the girl in the bottle hair properly. Looking at the hair looks really wrong and silly, it doesn't look natural the shape on the top of her head.
instruction:
1. Open the images. 2. Use the quick selection tools.
3. highlight the subject. 4. press "cmd C".
5. paste the portrait image into the underwater image. 6. paste it by pressing "cmd V".
7. press "cmd T" for free transform. 8. change the size of the subject.
9. click on filter and select Liquify. 10. use the liquify tool to change the shape of the girls hair.
11. create a new layer. 12. name the new layer "colour".
13. click on the eyedropper tool. 14. while using the eyedropper tool click on the colours of the swimming pool.
15. hold "cmd" and left click the girl layer.
16. select the gradient tool.
17. on the colour layer double click on it and change blend mode the "color". 18-19. click on the girl layer. Next, go to pattern overlay and choose the following pattern. Finally, adjust the opacity to 35% and scale to 269%. 20. change the opacity to 90%. 21.select filter move the cursor the blur and choose"Gaussian blur".
22. change the radius to "0.5". 23. go to select and click "border" from the modify tab.
24.make sure the width is "3 pixels". 25. use the quick selection tools and highlight the subjects arm.
26. repeat the Gaussian blur process and the radius has to be "2.0".


|
|
Shoe feet
For the shoe feet I have two influences of creating it. One from my surreal photography book and the other is from a famous painting by Renne Magritte. I thought this be a good step of my piratical response because it sort of resemble of what I tend to think about shoes in general. When I look at shoes in general I aim to think that they inside out feet and I find it a bit strange.
Instruction:
1-2. open the two images in Photoshop. 3. Hold "cmd" and press "a" to select all of the shoe picture.
4. Press "cmd V" to paste. 5. Make sure the shoe picture is above the feet layer.
6. change the opacity level on the 7. Add a layer mask to the shoe photograph in the layer
shoe layer until you can see the feet. palette.
8-9. Select the paintbrush tool. 10. adjust the paintbrush opacity low.
11. brush out the shoe part that you don't want.


|
|
inside out environment
The inside out landscape work, I was inspired by a series called "Inner beauty" by Thomas Barbey. When I first looked at the series, I thought it was very surrealist because when a person opens their mouth you'll see the tongue, but in this photographic work it's a real life environment.
Instruction:
1. Open the two images. 2. change the pictures to black and white.
3-4.copy and paste the landscape to the mouth 5. add a layer mask to the landscape image.
photograph and hold "cmd" and "t" to adjust the size. 6. Select the paintbrush tool.
7. change the landscape opacity to 50%. 8. change the brush hardness to 0 and opacity to 25%.
9. choose the doge and burn tool. 10. get rid of the dark shadows round the subjects teeth.


screenshot instruction
|
|
Book come to life
the book come to life. i was inspired by a photoshop tutorial. When I was very young, I had a pop up story book and i loved. i think it is related to my theme because I have placed real human life inside of the book.
Instructions:
1. open up the landscape and the cloud image.
2.copy and paste the landscape onto the cloud picture and then use the magic wand tool or the eraser to rub out the white parts.
3. adjust the level of the images and merged them down. 4. open the book photo and select the quick selection to highlight the parts. 5. open up another environment photo and use the rectangle marquee tool to select the ground.
6.choose the lasso tool and go around the book to duplicate the environment into the book.
7. go to liquify and use the following features. 8. select the burn tool set the exposure to 25% and use it on the middle on book. 9. Copy and paste the portrait to the book and use the eraser. Change the opacity 17% rub out bits of the edge of the subject so it looks like he/she is blending in the book.


screenshot instructions
|
|
portraits with chair
|
i was having an experiment of taking portrait with chair in a quirky way. I didn't use photoshop for this set because I wanted to see if I could create something surreal by just using my DSLR camera. The idea was inspired by Erwin wrum one minute sculpture work.

|
|
Fruit portraitFor this series, I was in my kitchen using a tripod. I was having some experiment of presenting some self portrait with food on my face in a very silly way. It could of been better if I placed myself in a better position so that parts of my body wouldn't be chopped off. Furthermore, i need to improved of where I should put the camera in a more suitable position. The idea was inspired by Erwin wrum one minute sculpture work.

|
|
Portrait boxI was inspired by one of Erwin Wurm funny portraits. when I saw his work, I thought it was surreal and hilarious at the same time. It's related to my theme because it is based on a real life subjects.

|
|
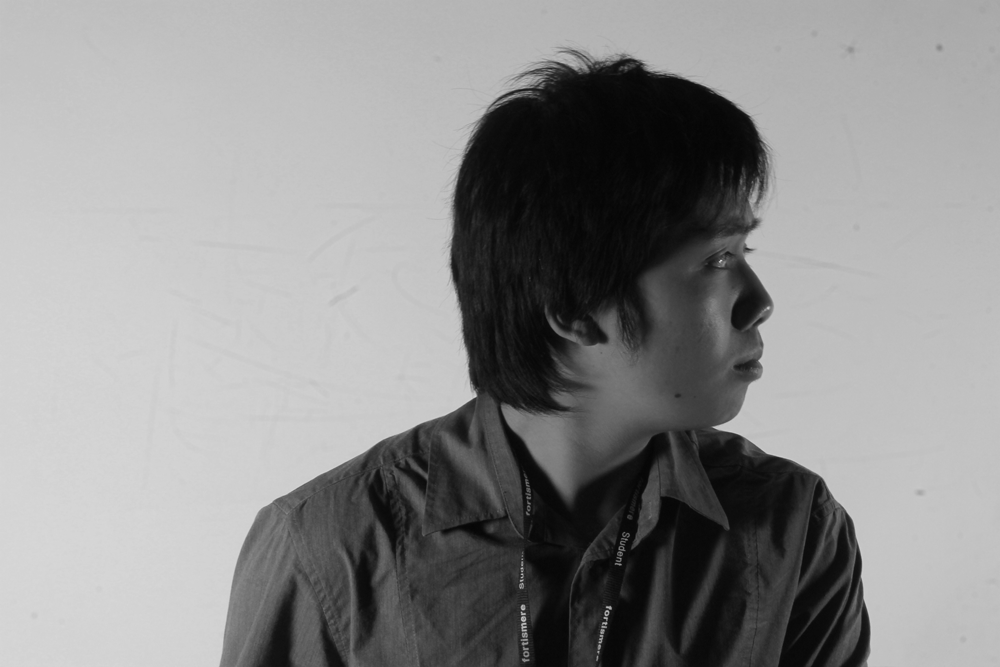
Cat face portrait
I wanted to try produce a similar cat portrait like Wanda Wultz. Instead of using Photomontage, I used Photoshop to create these images. I thought I had done an okay work editing it together, but it of been better if I made the cat part abit bigger on the boy portrait.
Instructions:
1. Open up a close up portrait and edit it into black and white.
2. Copy and paste the cat pic and lower the opacity to it and change it to black and white.
3. Use the eraser to rub out the unnecessary part of the cat photograph. Start to lower the eraser opacity to make it look like the face starts to blend in with the subject.


|
|
Extraordinary PortraitI have use the same idea from my GCSE ART exam called 'Ordinary and Extraordinary'. these self portrait are the ordinary things you would do in life, but in a very quirky way.

|
|
leaning against the wall
I had to put objects carefully against the wall and taken the shot quickly. I had another inspiration from Erwin Wrum 'One minute sculpture' series. i did a self portrait and a photograph of my teacher with paint plastic cans aswell in the school.
|
|
colouring pencil

The idea was inspired by Erwin wrum one minute sculpture work. Foe this work, I wanted to see how see of how would look by putting colouring pencil on my facial part of face.
|
|
Stop MotionThis is my first experience with stop motion. I've brought my own manikin to the studio and taken a lot of photos of it. Each photos will change the different position of the doll. Also, the shadow of the doll only has one leg because I edit it to make it look more strange.
|
|
Zip Portrait
For these pieces I was inspired by a certain Japanese artist. when I saw the artwork, I thought it was very intriguing to look at.
Instructions:
1.Open up the portrait and the bag image. used the Marques tool and copy the selected part of the zip bag area.
2.Edit the portrait picture to black and white. paste the selected bag part image and distort it.
3. Use the eraser tool, change the opacity to a low level and rub out the unnecessary part of the bag.


|
|
Decision for the development stageAfter I have experiment many different variety of surrealist ideas, I am going to start working on a combination of long and multiple exposures. I was inspired of the work of Deborah Turberville and Duane Michals work.
|


|
Development set 1
For starters, I've used a long exposure at my house. The shutter speed was at 10 and I thought the results was a good start. It could be better if I worked on the camera setting more.
|
|
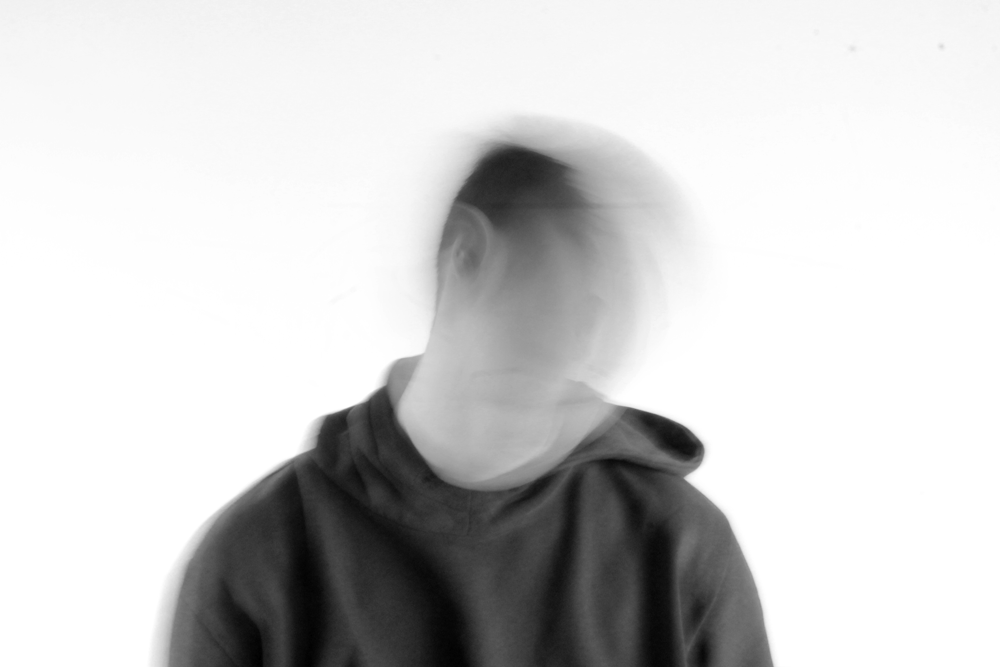
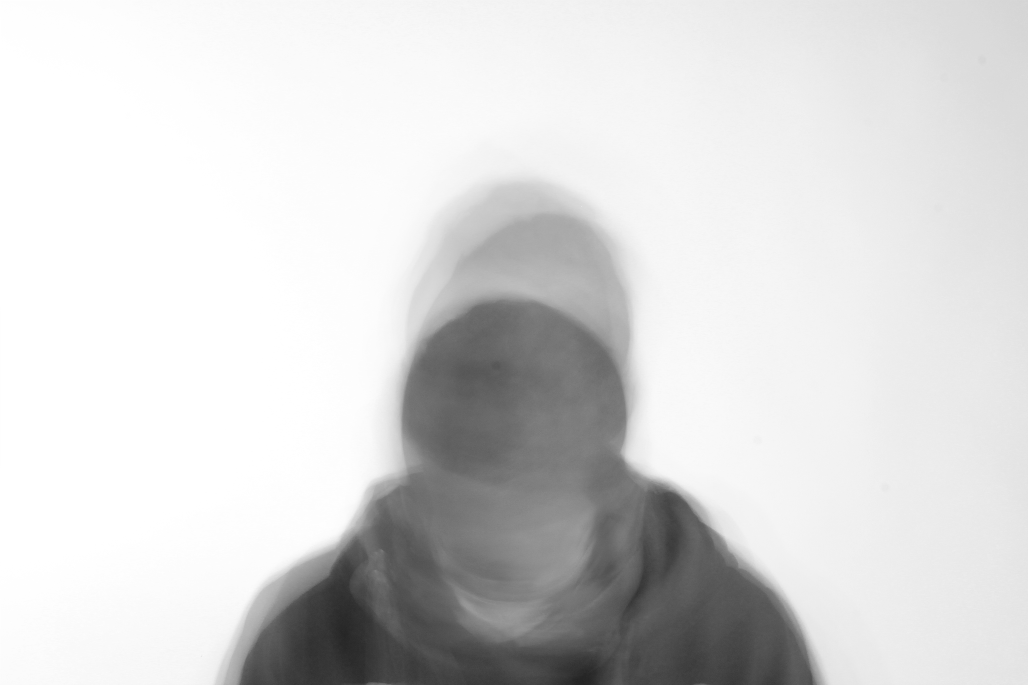
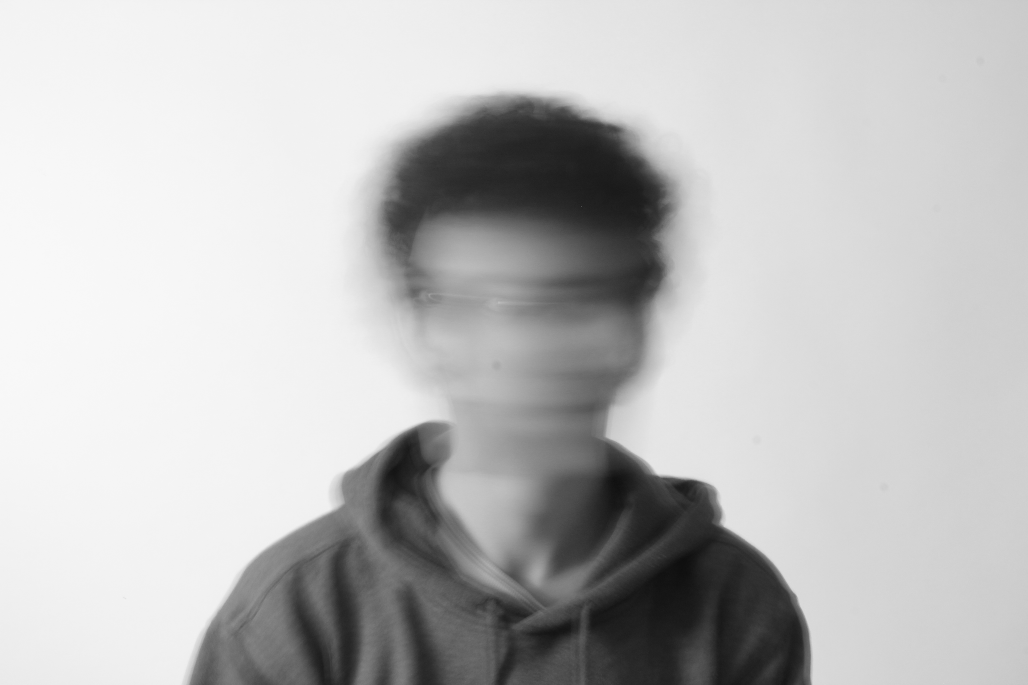
plans for the developmentFor my future development, I'm hoping to create a creepy head shaking effect. I decided to produce this effect because I think it's definitely related to my work.
|
|
Development set 2This is a motion video. I filmed myself in my bedroom shaking my head around. the shaking head sequence was a minute long, but I change the speed level from low to high and I think it worked successfully. the movements has changed from normal to creepy. It could better if I added some sound effect and made the video longer.
|
|
Development set 3 and 4
For these images, I revisited the same long exposure technique from my development set 1. In set 3, I was trying doing it in the school studio and I have made some changes. I change the shutter to 0.3 sec and used the self timer skills as well. Overall, I thinks it is a big improvement over to the development set 1 images.
In set 4, I used Photoshop.I copied a picture and paste it over the other. I simply made the opacity lower on the top layer. |
|
Development set 5
I used the same technique from set 4. Instead of editing into black and white, I wanted to see how the results will look in colour. Overall, I think the result was good. However, it could be better if I did a close up portrait shot of it. Same goes with the set 4 images.
|
|
Development set 6
In this set of pictures, I was trying to produce my idea to a new higher level. I was using the multiple exposure technique and I thought it came with an acceptable output. Although, it wasn't as brilliant than i thought it would be.
|
|
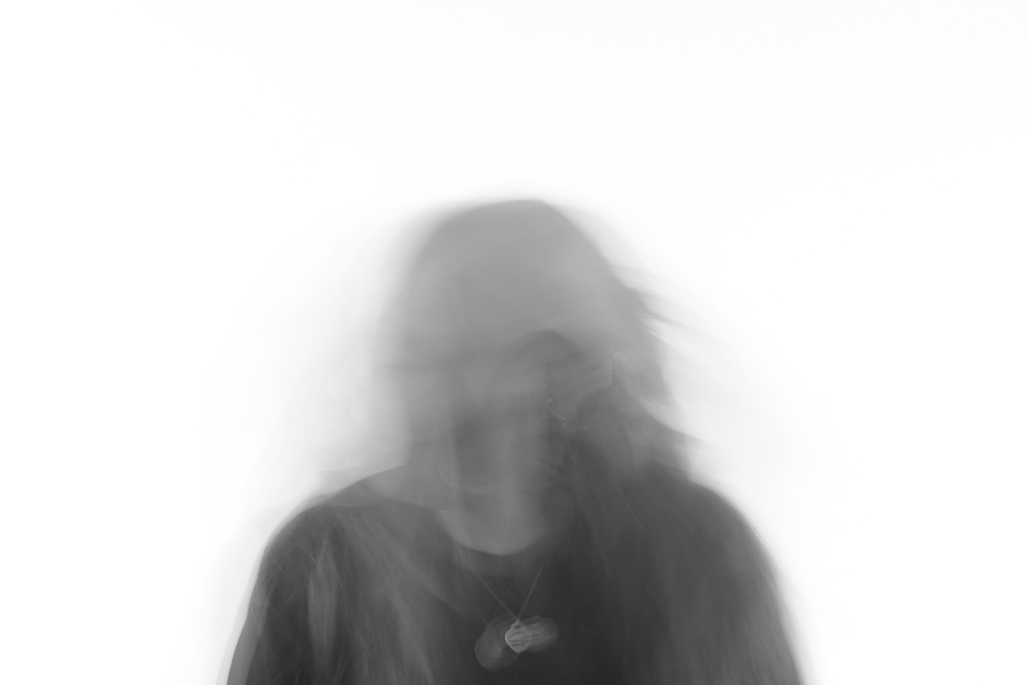
Development set 7 head shaking Revisit I create a longer head shaking video. It is longer and I have included a sound effect on it as well. However, I could modify even more by sorting out the audio.
|
|
Development set 8Instead of making a head shaking, I decided to see experiment ghost effect. I was inspired by Duane Micheal's image and I wanted to see if I can make it into a moving image.
|
|
Development set 9 and 10

I used the same technique just like I did with set 3 and 4 for these images. I wanted to experiment with the hand movement and it worked better than I thought.
|
|
Development set 11 and 12. 3 and 4 revisit

I did a close up shot. To me, its a big improvement over to set 3 and 4.
|
|
Development set 13 and 14For this set 13 and 14, I have created an animation. It was my very first time experimenting GIF images and I was quite disappointed with the self portrait. It doesn't match up to my other set that I've done and it doesn't feel like that I'm looking at something 'surreal'.
However, for set 14 I was impressed with. I have managed to make an animation by slow shutter speed and continous shooting. It works quite well in my point of view. |
Set 13
Set 14
|
Development set 15
For set 15 I used a strobe light. I think these pictures went really well because In my point of view, I gives me a surrealist effect. Seeing peoples movement.
|
|
Development set 16:Final outcome preparationAfter all of the head shaking experiments that I have in my previous development set. I've decided to move on to the preparation stage of the final outcome. I change the music and when you see the head shaking part, the video starts to zoom in. I thought it made it more effective, but it could be modified more if I had my neck and shoulder in the mirror as well.
|
|
Development set 17:Final outcome preparationFor this set, I was experimenting slow motion. I wanted to try something different with my videos before I start developing the final outcome. When I have created this video clip, I was kinda impressed with it. During the editing process, I was having troubles with it and I managed to do it.
|
|
Development set 18:Final outcome preparationIn set 18, I didn't use a completely different video clip, I just recycled the same footage from set 17. Around the end of the video you can see the subject starting to fade away like a ghost. It was the novelty of me using this specific effect. However, it could be better if I filmed it in a better position to see the whole body. Same with the set 17.
|
|
Development set 19:Final outcome preparation. 17 revisitI just recycled the same clip from set 16. This time, i have modified it by showing my shoulder and my body in the mirror. Also, I added text as well to make it look like the early 20th century film.
|
|
Development set 20:Final outcome preparation.I was experimenting with a cloning effect in a video footage. For the first time creating this effect I think the result came out pretty good. However, I wasn't really happy with the colour effect because the program controls whatever it want
|
|
Development set 21:Final outcome preparation. 18 revisitIn this video, I wanted to try modify the ghost fading away. I used the exact same editing process from set 18 except it's filmed in a different location. However, the composition is improved comparing to 18 because you can see subject's whole body.
|
|
Development set 22:Final outcome preparation. 17 revisitI wanted to correct my mistake with the slow motion effect. i was impressed with the results.
|
|
Final outcome 1
After completing a huge amount of work in my practical responses, I have produced a video as one of my final pieces. This title of the videos is "the quirky Imagination' and I am very pleased with it. The video shows what kind of strange imagination I tend to have around my house. I planned out the storyboard from the start of the final outcome preparation along the way through and I reused the same clips as well. Throughout the video production, I've been using a software called 'Sony Vegas Pro' and I thought it was easier than I thought. At first, I didn't know how to use the program, but when I watched tutorial videos from youtube, I started to understand the process.
Plan for final 2For the next final piece, I am going to create 9 GIF images. Recently, I found this photographer called Romain Laurent and I find his related to my upcoming piece. He had produced moving images, but not in the way like I have done for my development set 13 and 14. So, I am going to try and revisit the set for my next final outcome. This time, I am going add more images and try to increase the speed of the movement.
|

|
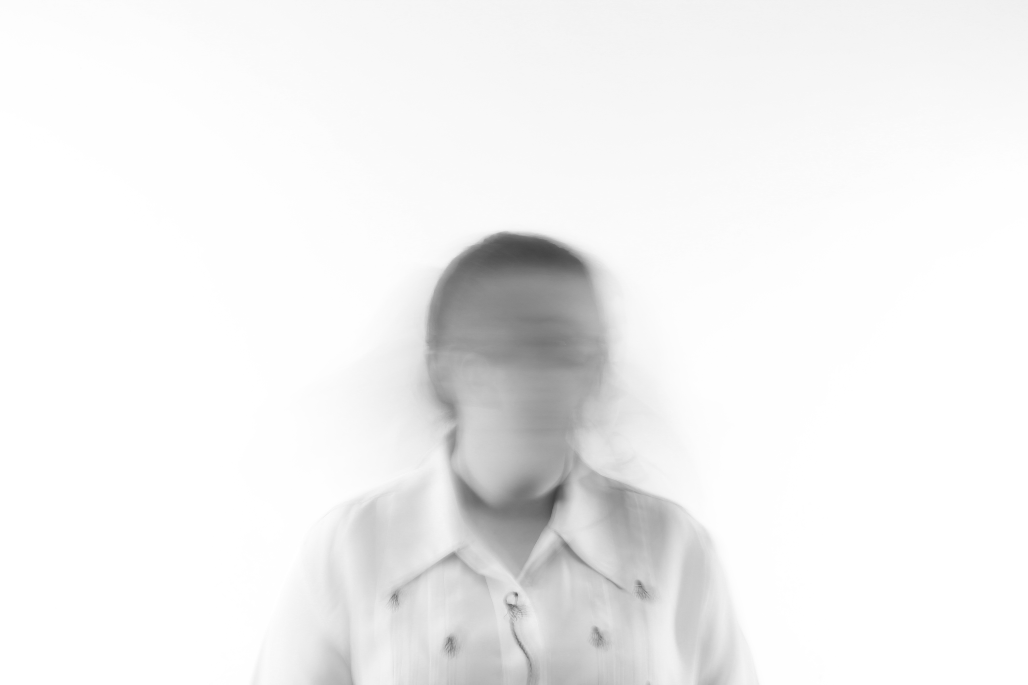
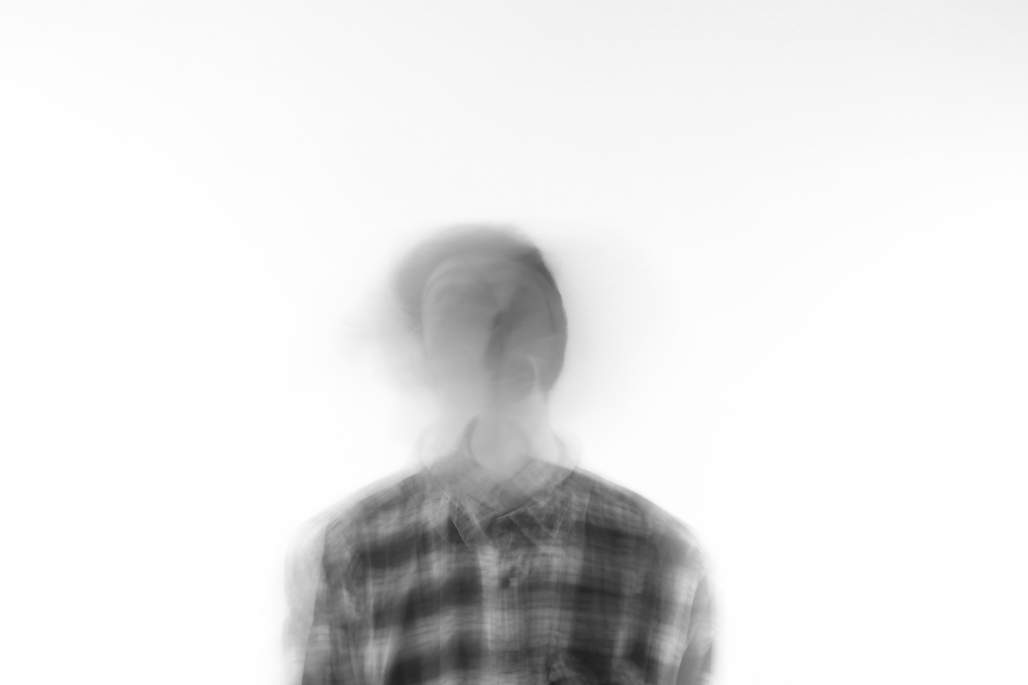
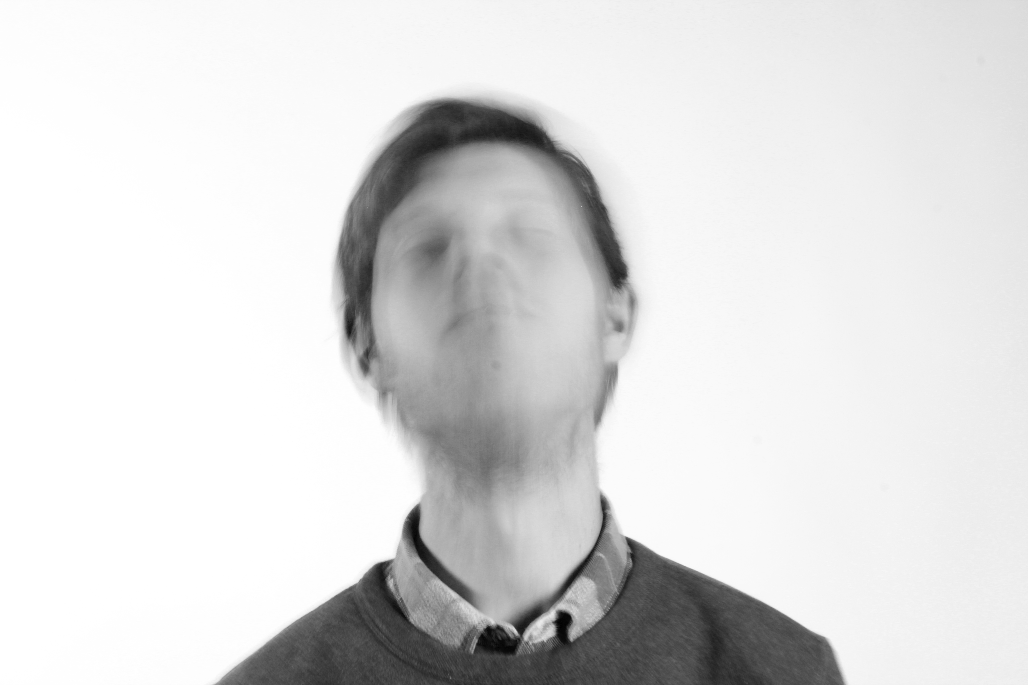
Final 2
|
|
|
For my second final outcome, I has revisited my set development 13 and 14 to see if I could modify it. This time, I had to taking more than twenty shots of the subjects moving their heads around and it worked quite well. The subjects are all in a consistent white background and the shaking movement is more effective than before. However, I think this work isn't a brilliant as my first outcome because it wasn't as exciting and interesting as 'my quirky imagination' video. For the next outcome, I think I'm going to create another story in still images instead of another video to experience.
Plans for Final 3For my next final outcome, I am going to create a story of a business man. There are going to be still images. I'm am going to repeat the same element from my first outcome video such as the head shaking, the layered images with the samurai scene and the multiplicity effect. Furthermore, I'll be working on the same effect like the photographer Paul M Smith.
Contact sheet |
|
|
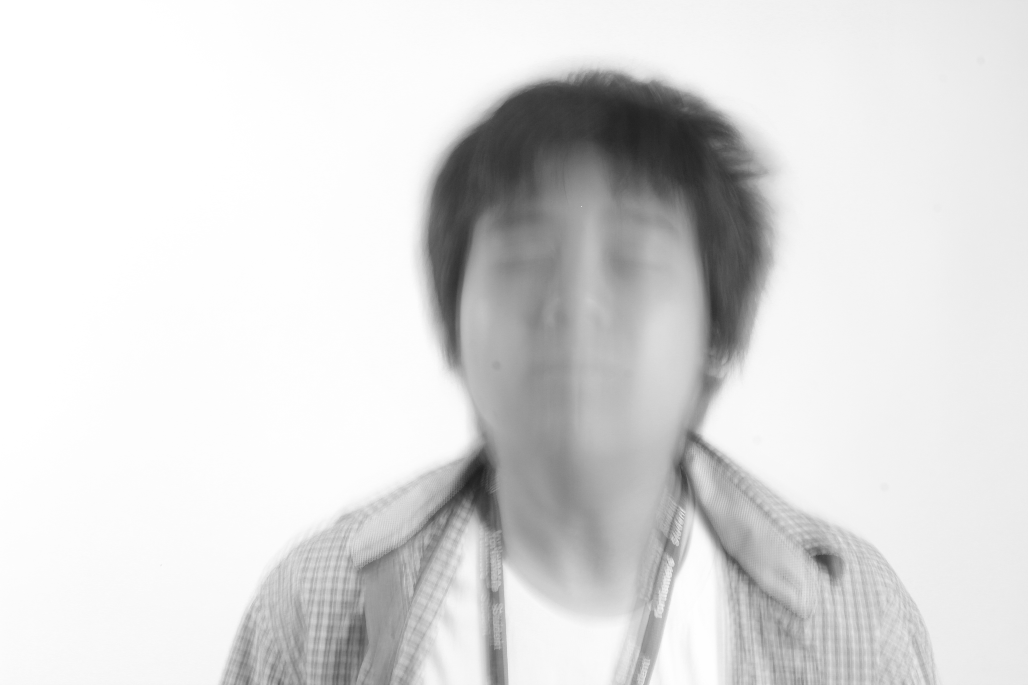
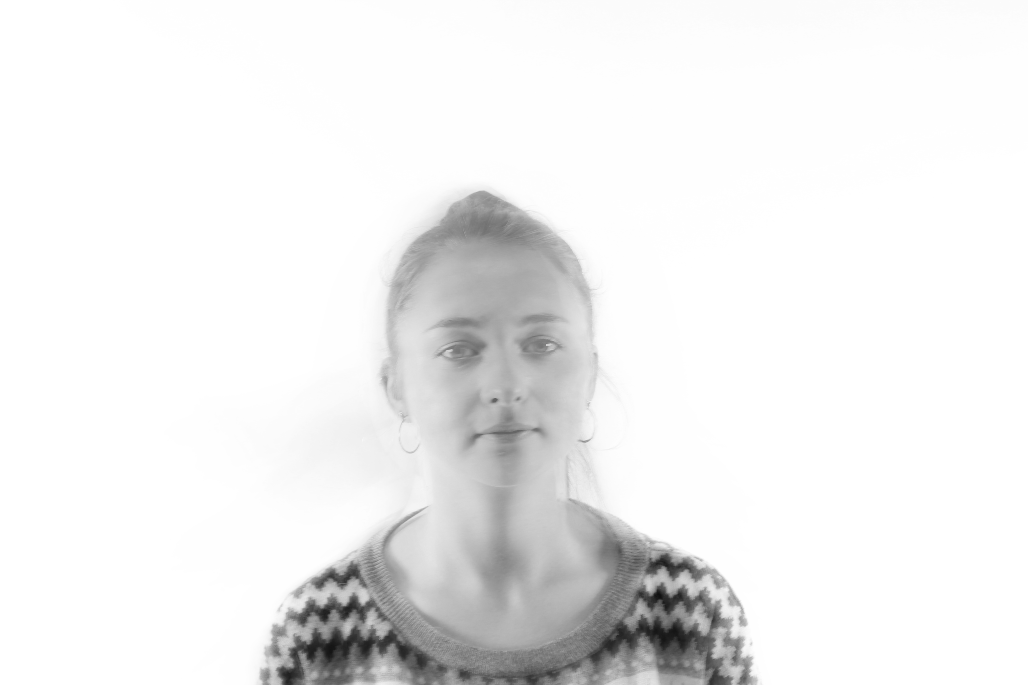
First, I've decided to create a contact sheet for the next final outcome. I was quite disappointed with the results of the images because there was an inconsistency with them. Some of the pictures focus level were soft and I was abit annoyed with it. So, I am going to revisited these shooting and I am getting the focus adjustment right. The images below is an example of the photographs being soft.
|


|
Contact sheet

|

These are the contact sheet that I have done for the re shooting. This time, these images are in focus and I had to adjust the focus of the DSLR lens for some of them manually. I think using manual focus can be better than auto focus because sometimes AF does the process that You don't want in general. For example, if you want the subject to be focus, the camera does whatever it wants.
|
Final outcome 3
This is the third final outcome for my surreal photography work. This piece has a story of a typical busy man working in the office and it's presented in strange way. I have made the images black and white because I wanted them to link up with my other work that I have done in the past. Furthermore, I believe this outcome is a lot more interesting than my Final outcome 2. I have created more surrealistic images by responding Paul M Smith with multiplicity effect and a head popping out the draws in the last picture. However, I still used the head shaking effect in this work and I used a lot of complex Photoshop process for them.
